Usage Conventions
As you work on the Pentana Performance system you will see common elements on the screens, each of these are described below:
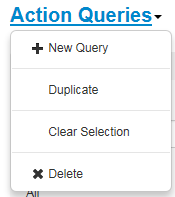
Headings |
|
To add, edit or delete information, use the menus that appear on the headings of the page. If you have access to the menu there will be an arrow at the end of the heading. Clicking on the heading will display the menu. |
|
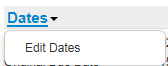
Panels |
|
Information is held in panels, small sections of the page that may be edited individually. To add, edit or delete information on the panel, use the menus that appear on the headings of the page. If you have access to the menu there will be an arrow at the end of the heading. Clicking on the heading will display the menu. |
|
Right click |
|
Sometimes items may be updated using the right click menu. Different items will have different options available. For example, this shows the right click menu for a performance indicator which allows you to: •Open the performance indicator in its own tab •Update the details of the performance indicator •Create a copy of the performance indicator •Delete the performance indicator |
|
Drop-down list |
|
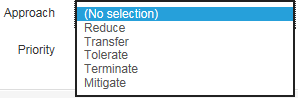
This function is used throughout Pentana Performance to allow the user to select an option from a number of alternatives. You view the list of alternatives by clicking the down arrow on the right of the drop-down box. Select the option by clicking on it in the displayed list. |
|
Multi-selection list |
|
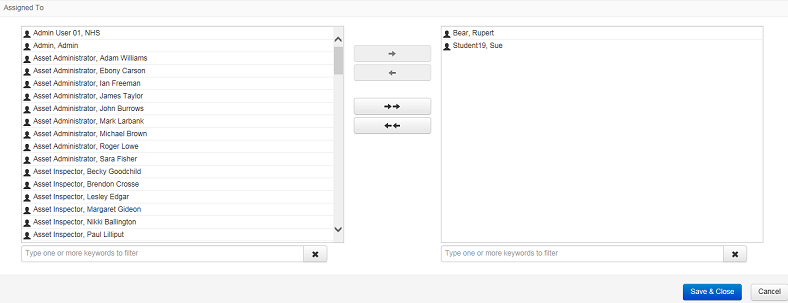
Some lists will allow you to select more than one option at a time, for example if you want to highlight a number of people on a list. You may use the following selection options: •Hold down the Ctrl key on the keyboard; this allows you to choose non-sequential items from a list by clicking on each one. •Hold down the shift key on the keyboard; this allows you to select a sequential group of items. Click on the first item, hold down the shift key and click on the last item; all the items in between are selected. |
|
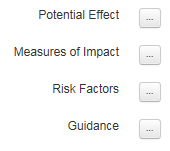
Dots-in-the-box |
|
The dots-in-the-box button is used to add further information to Pentana Performance. This will usually open a free text box. |
|
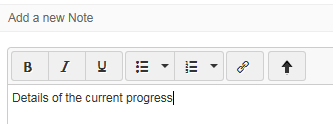
Text box |
|
Text is added to items in Pentana Performance using the text box. •Text may be formatted using the format buttons •Right click to cut, copy and paste •URL links may be added. •Expand the size of the window using the arrow button |
|
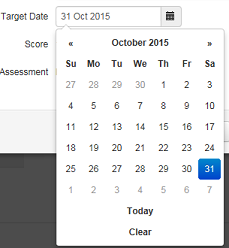
Calendar |
|
Throughout the system, dates may be added using the calender, for example entering an Action's due date. Clicking in a date field opens a calendar. •Find the month and year using the back and forward arrows at the top of the calender. •Click the month and year title at the top of the calender to select a specific month in a specific year. •Click on the day to enter the date. You may alternatively type the date into the date field. |
|

 Watch it!
• |
Need more information..?
|